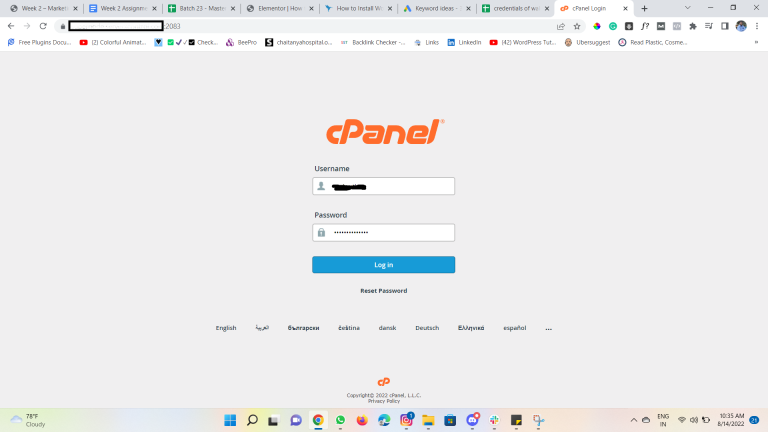
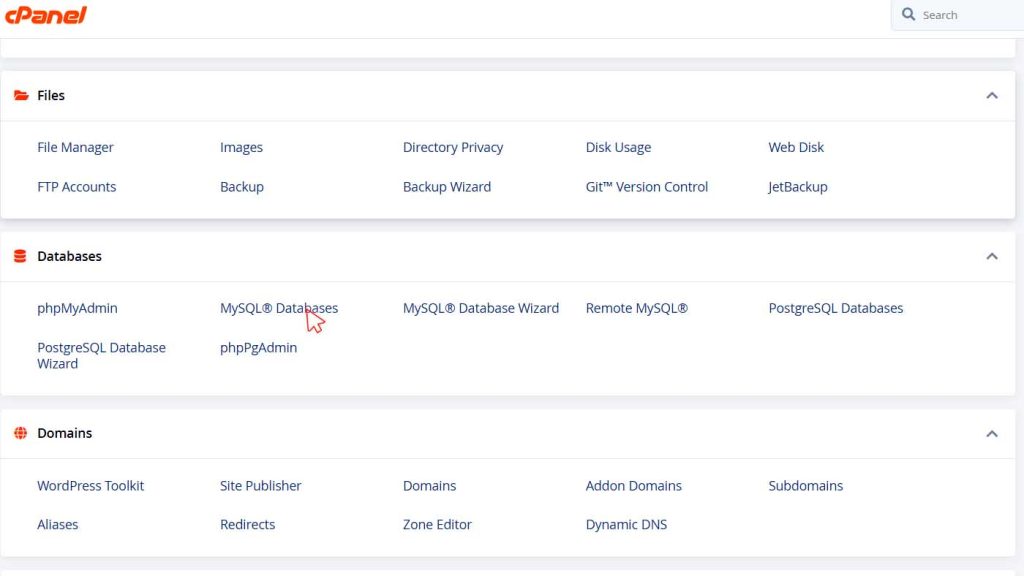
Sta ep 10- After Click to MySQL Database, you have to create database to connect your wordpress with that database.
- Put Database name below Create Database Name section.

Like I put a marketing name in my database, same you can put any name related to your business in that Database and click on to Create Database button below there.
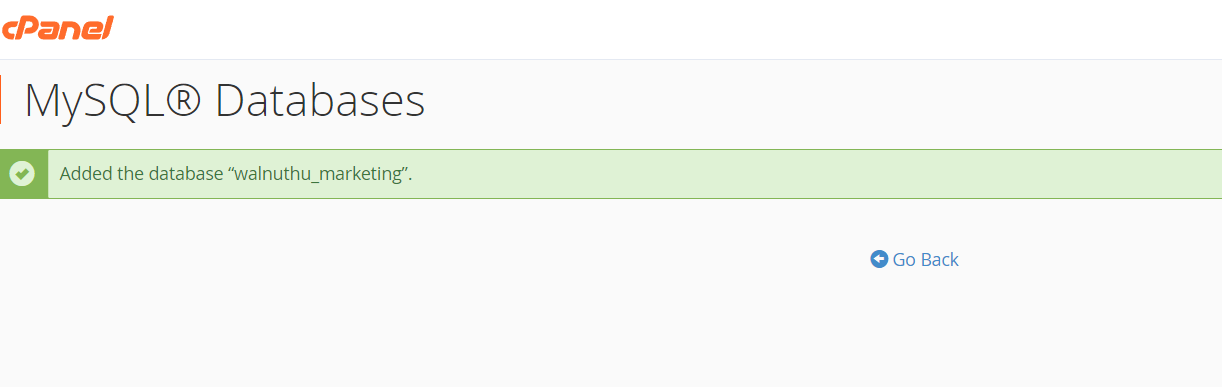
- After Successfully creating the database, click to Go Back button below that message.
- Now you have come back to the same MySQL Database page, Now you have to Scroll Down, and there you can find the My SQL User section, so there we have to put our username & password to connect the database.

Click on to Create User Button, After fill details in the username n password section,
After Clicking the button again you get a message of user created successfully, Click to Go Back button & again you come to the same MySQL Database Page.
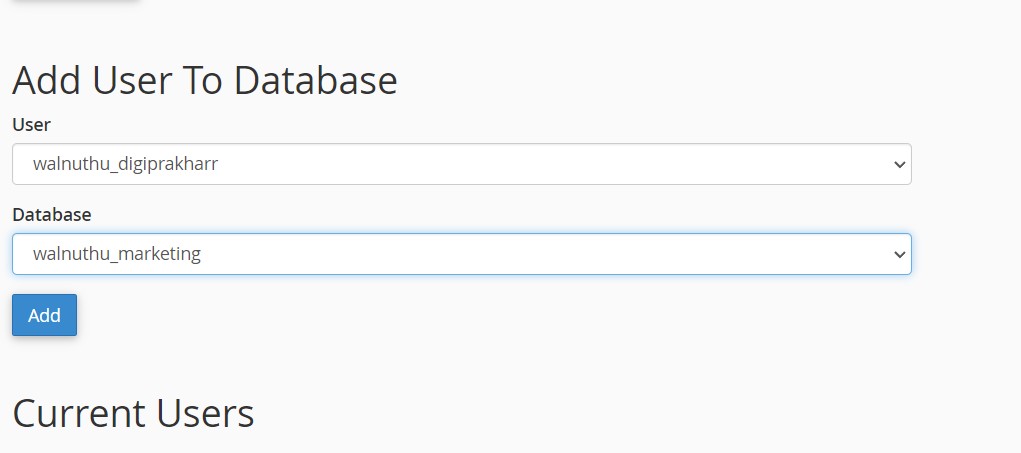
- Now again you have to scroll down & you can find a section name as- Add User to Database.
- There you have to choose your User & Database that you created, & click to Add Button below there.
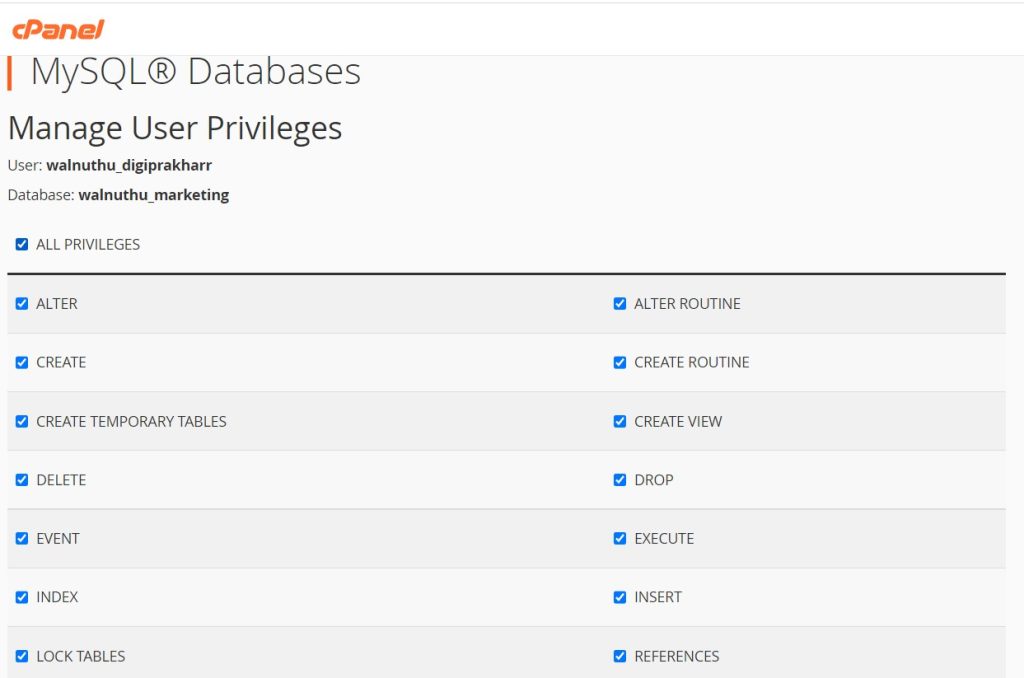
- After clicking to Add button you go to the Manage User Privileges Page,
- There you have to click on the top checklist box before the All Privilege option.
Now you have installed WordPress & also created a Database, Now we have to connect the database and WordPress to create a Website.
Step 11- Now open your domain like – www.yourdomain.com, there you can find WordPress Setup.
Now choose the default language to run WordPress, By default English language is chosen and after choosing the language click to continue button.

After Clicking to Continue Button, it shows again a page, there you have to Click on the Let’s Go button that you can see at bottom of that page.
Step 12- After Clicking on the Let’s Go Button it takes you to the page where you have to fill in the details of your Database, so to connect WordPress & database to run the website.

In this you have to fill database name, username & password – Database Host & Table Prefix will remain the same as the default.
Now Click on to Submit Button.
If your database details will be correct it shows a message to run the installation.
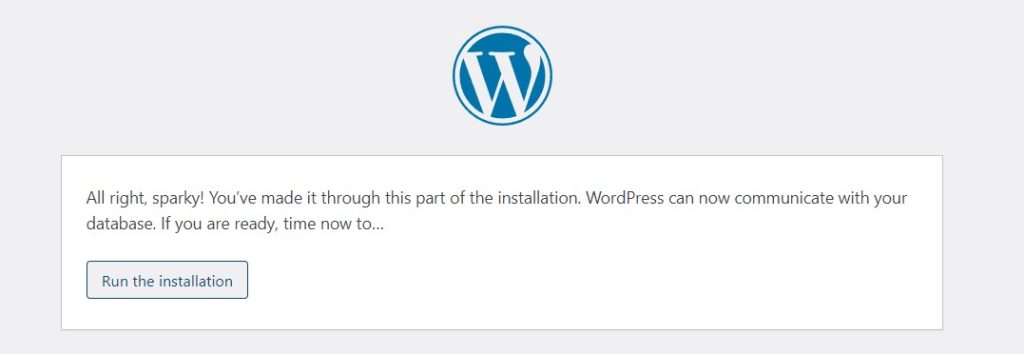
Now you have to click to Run the installation & your WordPress Installation will be complete & it takes to a page where you have to create a user to open the wp-admin panel to edit your website.
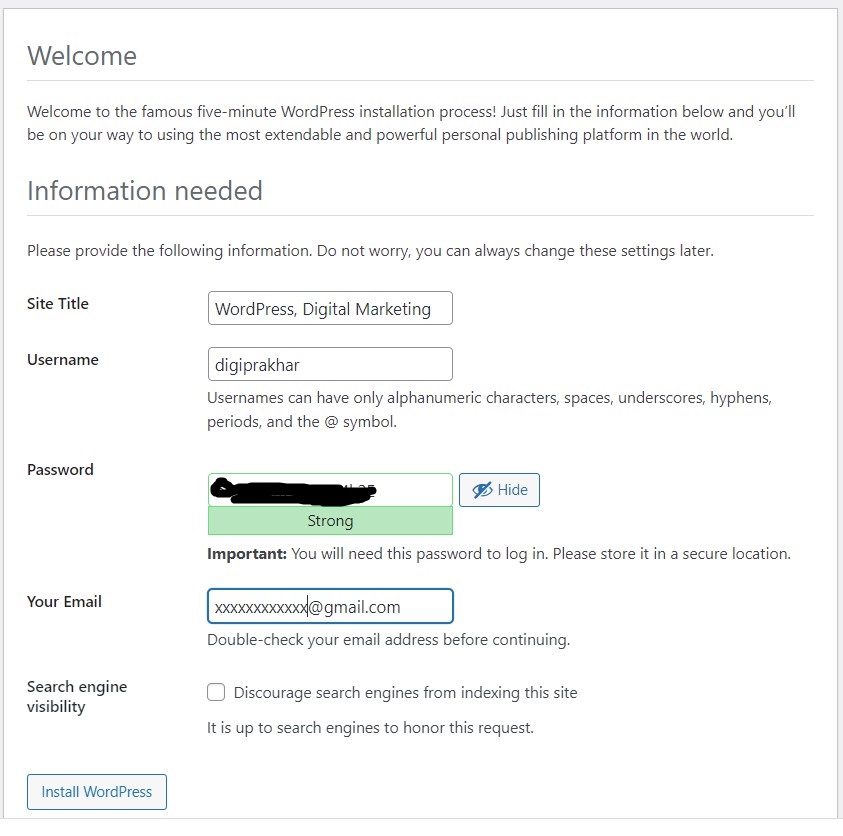
In this form, you have to fill in your website Site Title ( recommended to use keywords in this related to your business ), username, password & email.
After filling, in all these details click on to Install WordPress button.
Step 13- Now your website is ready & WordPress installation is successful, Now if you want to edit your website & design it, you have to use domain/wp-admin.
Step 14- After open wp-admin, you have to insert the username & password that you created at last where you have to click Install WordPress Button.
Hope these steps are really helpful for you & I think there is no confusion in these steps, Process is a little lengthy but once u understand it will be very easy.
Prakhar Balelcha so called WordPress Designer